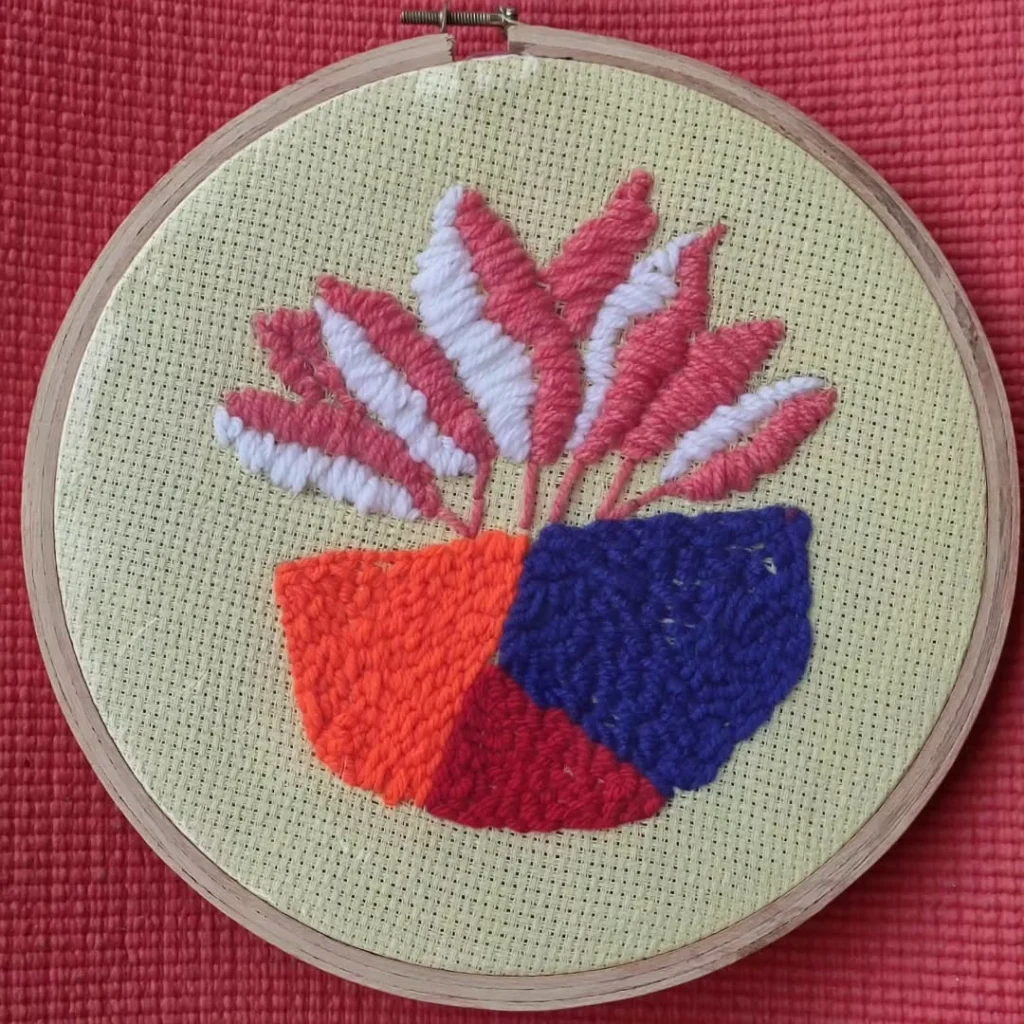
Punch Needle Embroidery The Complete Beginner’s Guide to This Trending Textile Art
Punch needle embroidery is experiencing a creative resurgence, captivating modern crafters with its rich textures, simple tools, and endless design possibilities. From wall art to custom home decor, punch needle work offers a unique tactile appeal and artistic freedom that appeals to both beginners and experienced fiber artists.
This complete guide explores what punch needle embroidery is, how it works, what tools and techniques you need, and how to get started with your own punch needle projects.
What Is Punch Needle Embroidery?
Punch needle embroidery is a type of needlework that uses a hollow needle tool to create loops of thread or yarn through fabric. Unlike traditional embroidery, which involves stitching through the fabric from front to back, the punch needle is inserted repeatedly into the fabric, leaving a row of loops on the opposite side. These loops form a raised, textured surface that can resemble tufted fabric or miniature rugs.
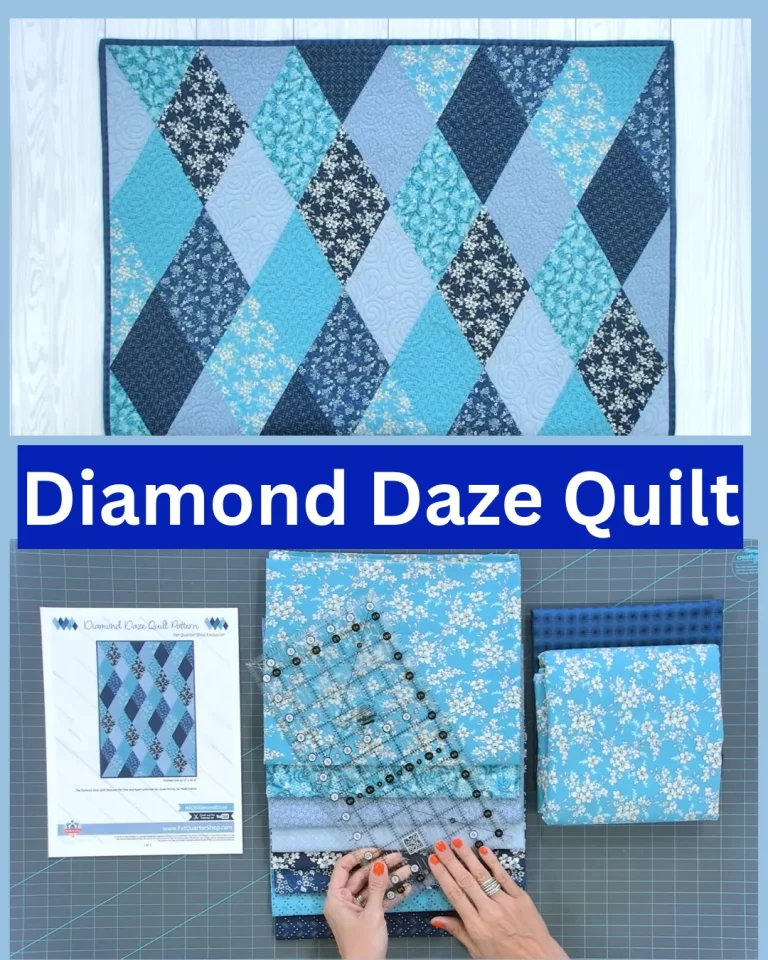
You Might Also Like This: Diamond Daze Quilt Tutorial
While the technique has been used for centuries in rug-making and folk art, it has evolved into a popular form of contemporary textile design. With the right materials and a bit of patience, anyone can create vibrant, high-impact pieces with minimal experience.
How Does Punch Needle Embroidery Work?
The punch needle tool is designed to channel thread through its hollow body and out the tip. As you punch it into the fabric, it leaves loops behind that are held in place by the tension of the fabric weave. One side of the fabric shows the looped texture, while the other side (the working side) shows flat, stitched lines.
The magic of punch needle embroidery lies in its simplicity—there’s no knotting, tying, or complex stitching involved. Just punch, lift, and repeat.
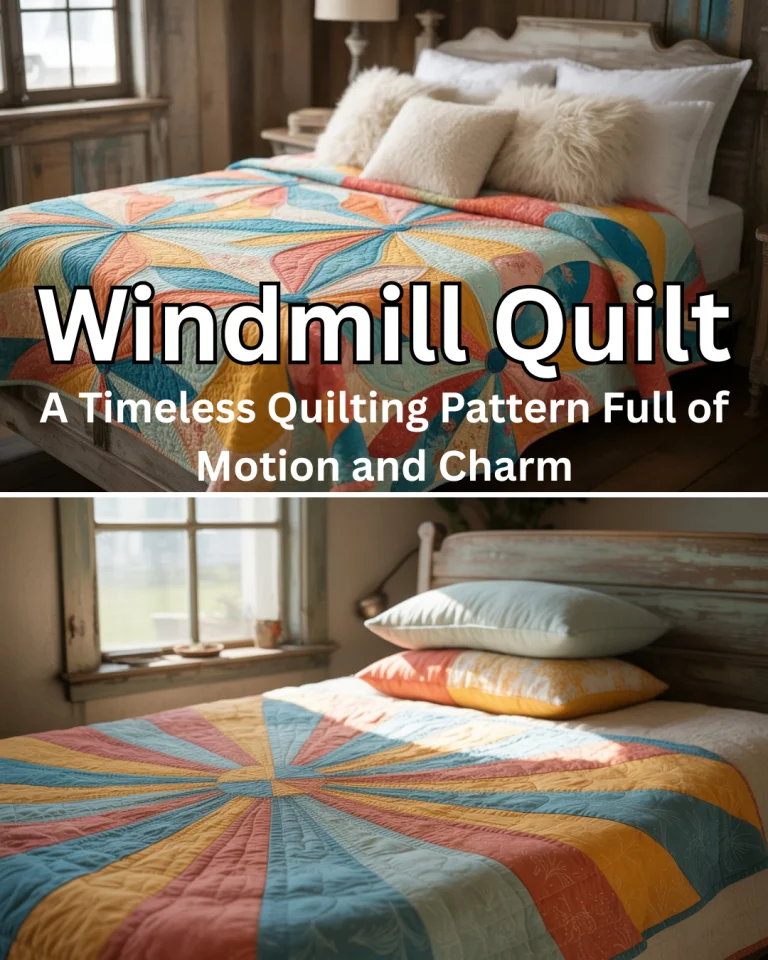
Related : Windmill Quilt: A Timeless Quilting Pattern Full of Motion and Charm 2025
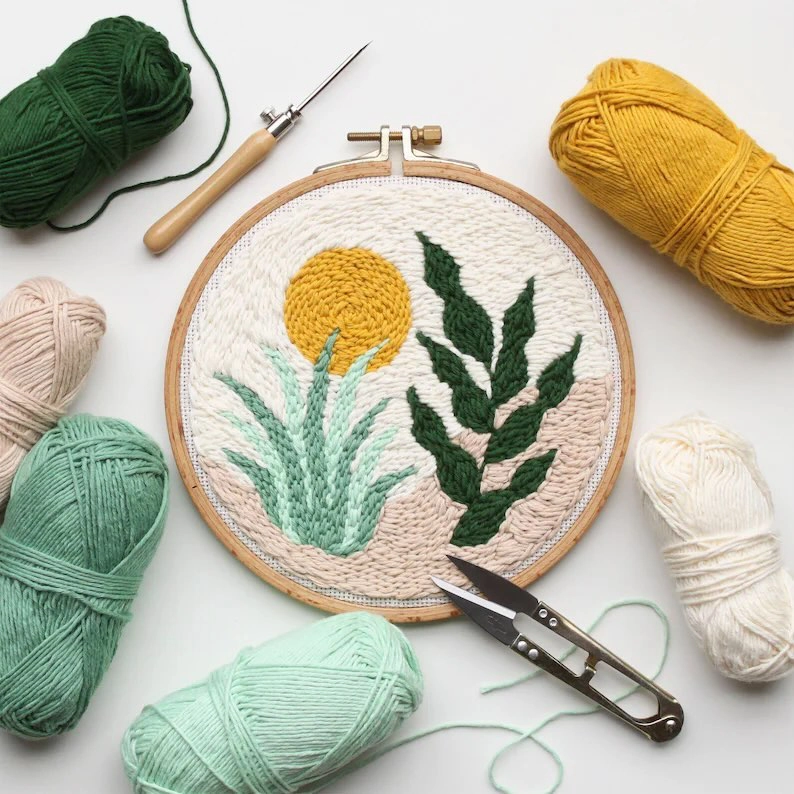
Essential Tools and Materials
To begin punch needle embroidery, you’ll need a few essential tools:
1. Punch Needle Tool
There are many types, but the most common are adjustable and allow for different loop lengths. Some popular brands include Oxford, Clover, and Lavor.
2. Fabric
The most commonly used fabrics include:
- Monk’s cloth: A popular choice due to its loose weave.
- Weaver’s cloth: Best for finer thread or floss.
- Linen or cotton blends: Only if tightly woven.
3. Yarn or Thread
The type depends on the punch needle. Smaller needles use embroidery floss, while larger ones use bulky or worsted-weight yarn.
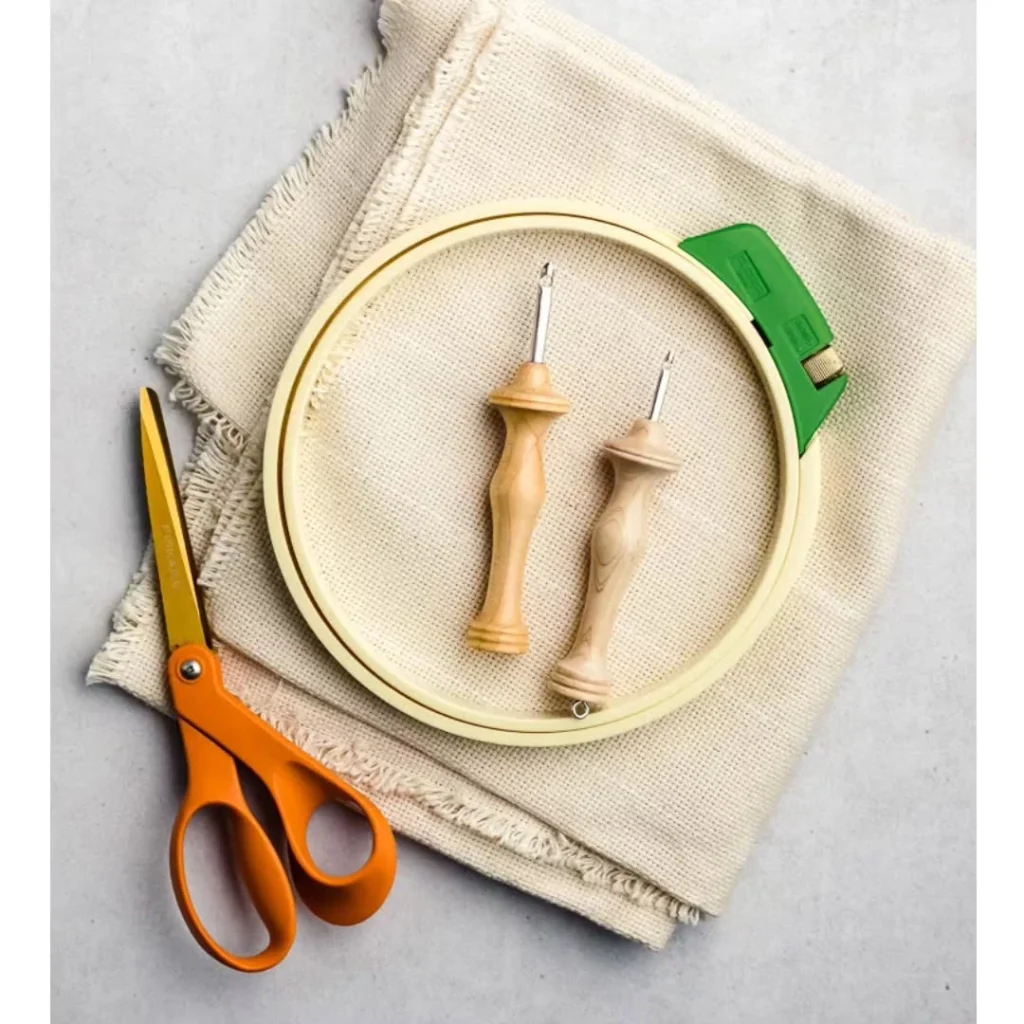
4. Embroidery Hoop or Frame
The fabric must be tightly stretched. Wooden frames or gripper strips offer better tension than hoops.
5. Scissors and Marker
For cutting yarn and transferring your design to the fabric.
Step-by-Step: How to Start Punch Needle Embroidery
Step 1: Prepare the Fabric
Stretch your fabric tightly over the hoop or frame. It should feel tight like a drum.
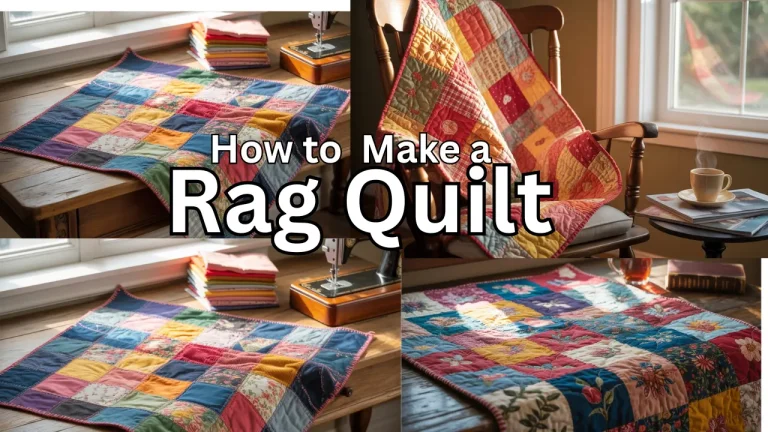
Related: How to Make a Rag Quilt A Complete method 2025
Step 2: Transfer the Design
Use a fabric marker to draw your design on the fabric. You can trace, stencil, or draw freehand.
Step 3: Thread the Punch Needle
Insert the thread through the tool using a wire threader, making sure it flows smoothly.
Step 4: Start Punching
Begin punching from the back side of the fabric (the flat side). Move slowly and consistently, keeping even pressure and making sure your needle is all the way in before lifting it.
Step 5: Fill in the Design
Work in sections, switching colors as needed. Adjust loop heights for texture or shading.
Step 6: Finish Your Work
Once your design is complete, secure the loops with glue or interfacing on the back, and trim or mount as desired.

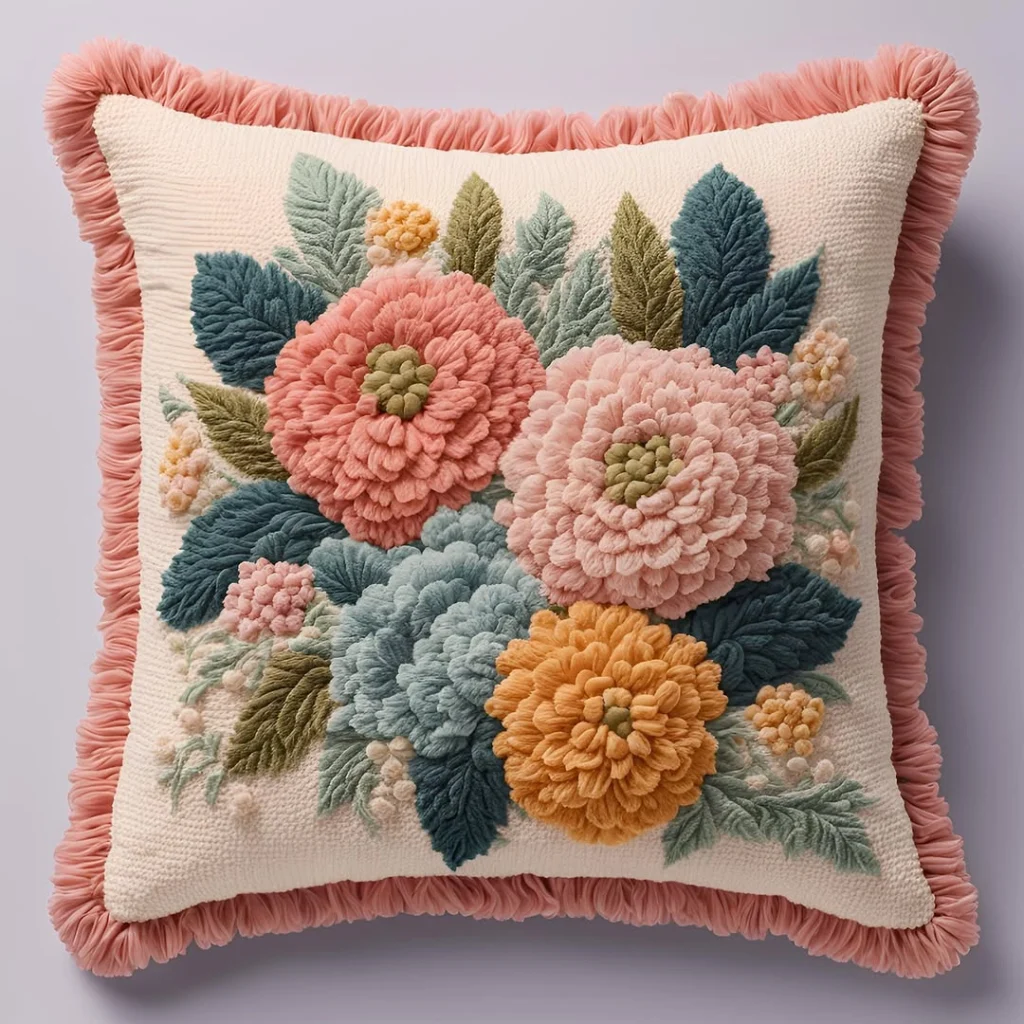
Popular Punch Needle Project Ideas
- Wall hangings
- Coasters and placemats
- Pillow covers
- Tote bags
- Custom patches
- Decorative art canvases
- Rugs and mats
You can make anything from minimalist modern designs to intricate traditional motifs depending on your style and skill level.
Tips for Better Results
- Use high-quality fabric to hold loops firmly.
- Keep your punching motion consistent and your hand relaxed.
- Don’t pull the needle too far up or loops may come undone.
- Secure the finished work with glue or interfacing to prevent fraying.
- Practice on scrap fabric before starting your final piece.
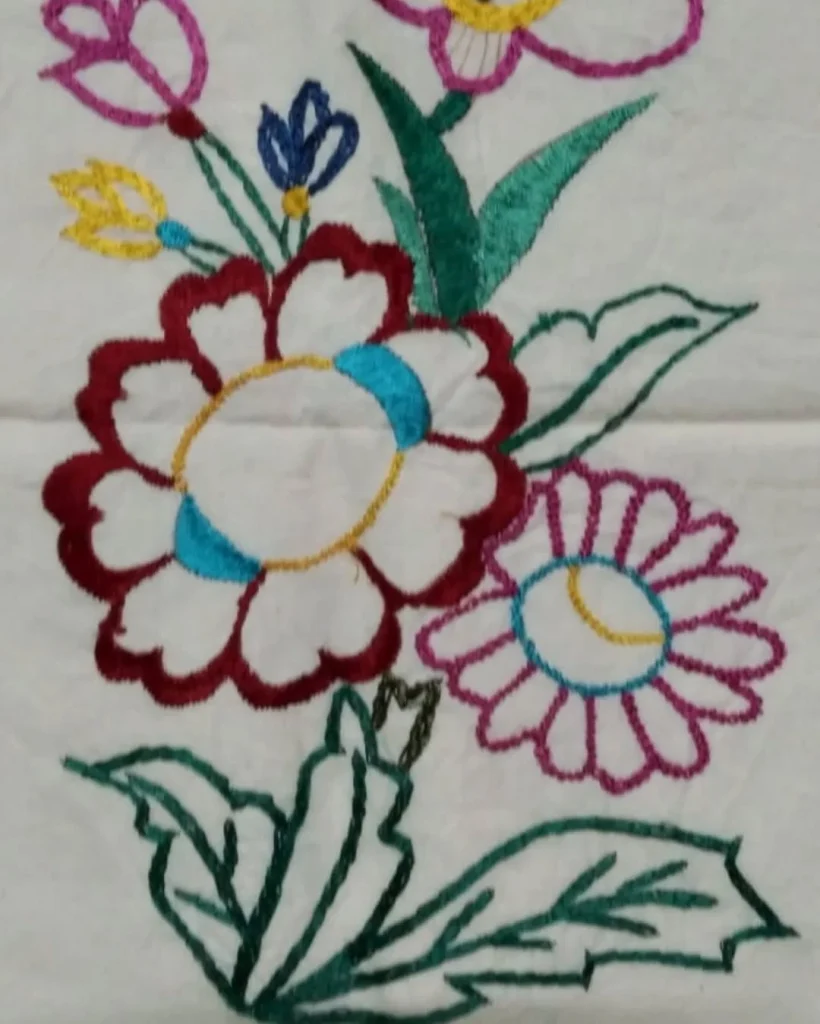
Punch Needle Embroidery vs. Traditional Embroidery
| Feature | Punch Needle Embroidery | Traditional Embroidery |
|---|---|---|
| Technique | Looping with a punch tool | Stitching with a needle and thread |
| Texture | Raised, plush surface | Flat, detailed lines |
| Learning curve | Easy to moderate | Moderate to advanced |
| Time investment | Faster completion | More time-consuming |
| Visual style | Bold, graphic, modern | Detailed, delicate |
Is Punch Needle Embroidery Right for You?
If you’re looking for a craft that’s both relaxing and creatively satisfying, punch needle embroidery is a great choice. It doesn’t require expensive equipment, can be learned quickly, and allows you to produce beautiful, textured artwork. It also opens the door to exploring color theory, design composition, and mixed media.
Whether you’re making a custom wall hanging for your home or designing your own product line, punch needle embroidery gives you the flexibility to explore and express your artistic voice.
Conclusion
Punch needle embroidery is more than just a trend—it’s a creative practice that blends tactile satisfaction with artistic exploration. With the right materials and a bit of patience, you can turn a simple piece of fabric into a vibrant, textured work of art.
From hobbyists to textile designers, more and more people are turning to this form of embroidery not just for what it produces, but for the joy of making itself. Whether you’re in it for relaxation or self-expression, punch needle embroidery is a fulfilling craft worth exploring.