How to Make a Layer Cake Quilt: A Step-by-Step Beginner’s Guide
Introduction
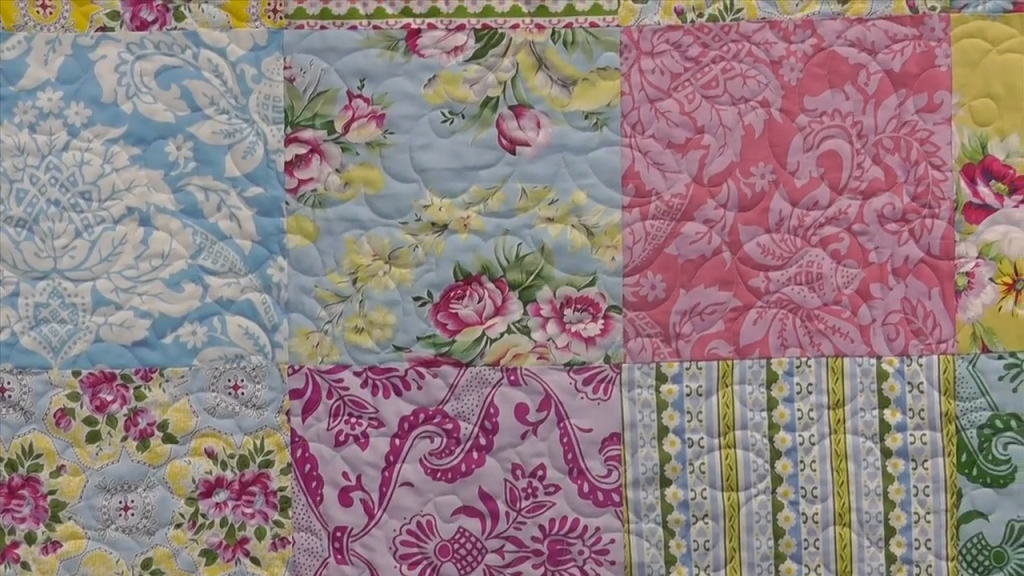
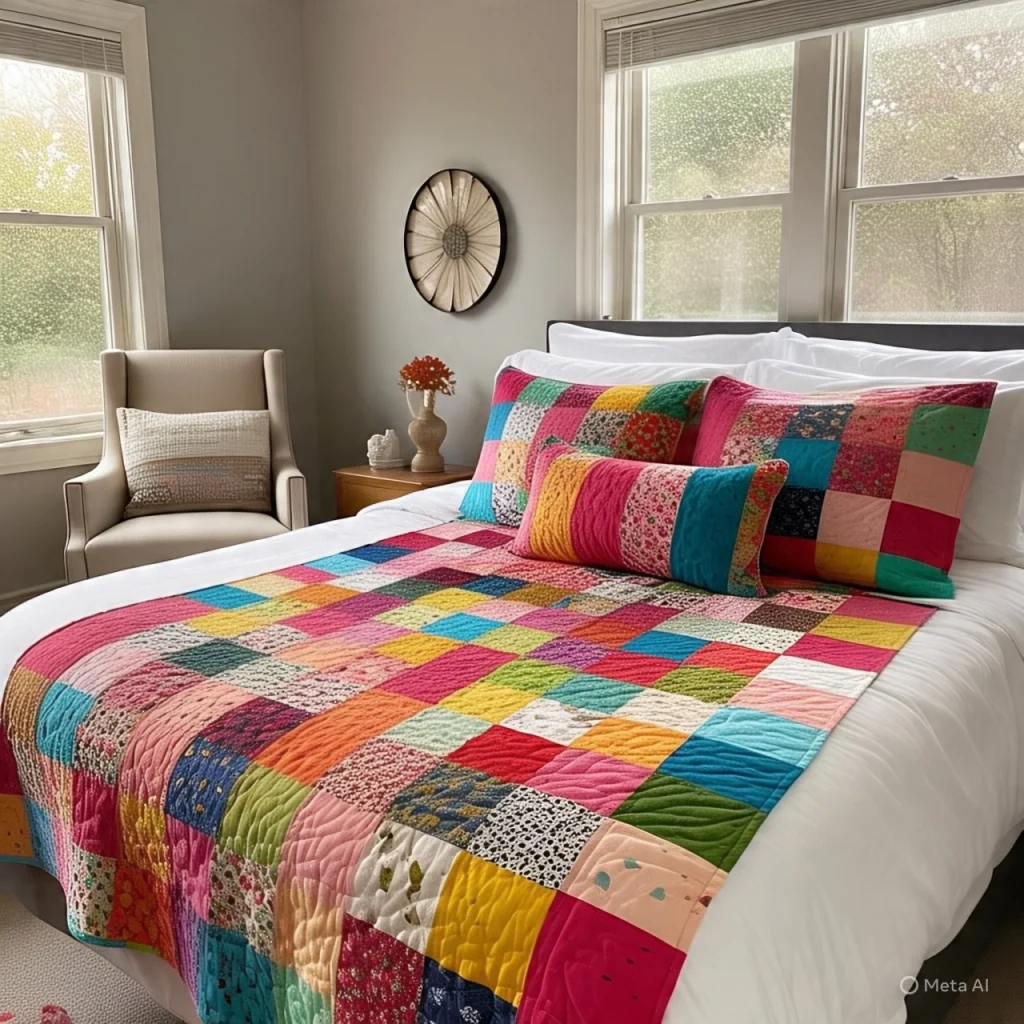
If you’ve been searching for an easy yet beautiful quilting project, a layer cake quilt is an excellent place to start. These quilts are made using pre-cut fabric squares typically 10×10 inches called layer cakes. Whether you’re new to quilting or want a time-saving option, this guide will walk you through every step of making a layer cake quilt from start to finish.
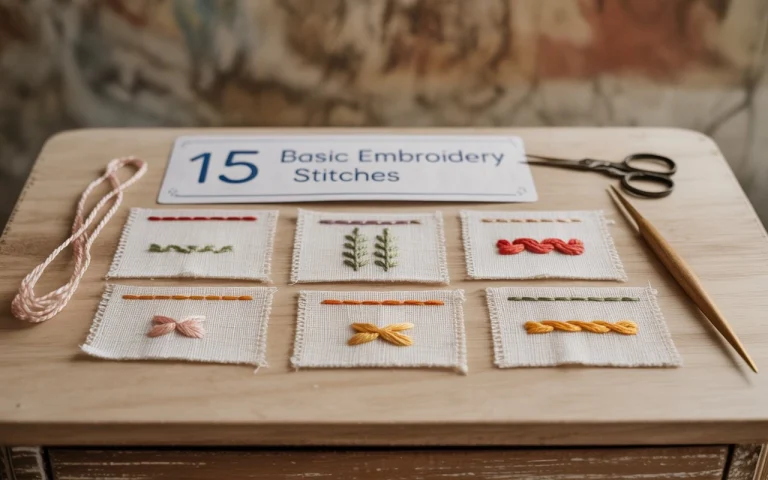
Read more https://homecraftedlove.us/15-basic-embroidery-stitches/
What You’ll Need
Before diving in, gather the following tools and materials:
- 1 or more layer cake packs (40–42 pre-cut 10″ x 10″ fabric squares)
- Sewing machine with a 1/4″ quilting foot
- Rotary cutter and cutting mat
- Quilting ruler
- Iron and ironing board
- Thread (preferably cotton)
- Pins or fabric clips
- Backing fabric
- Batting
- Binding fabric
- Quilting safety pins or basting spray
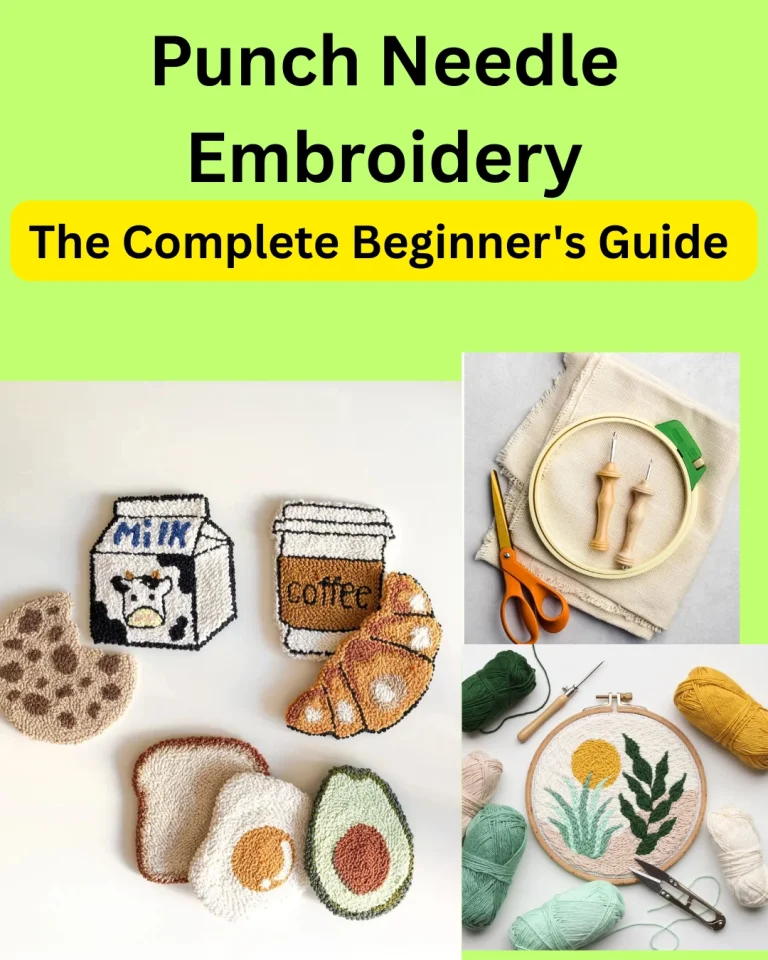
Read more https://homecraftedlove.us/punch-needle-embroidery/
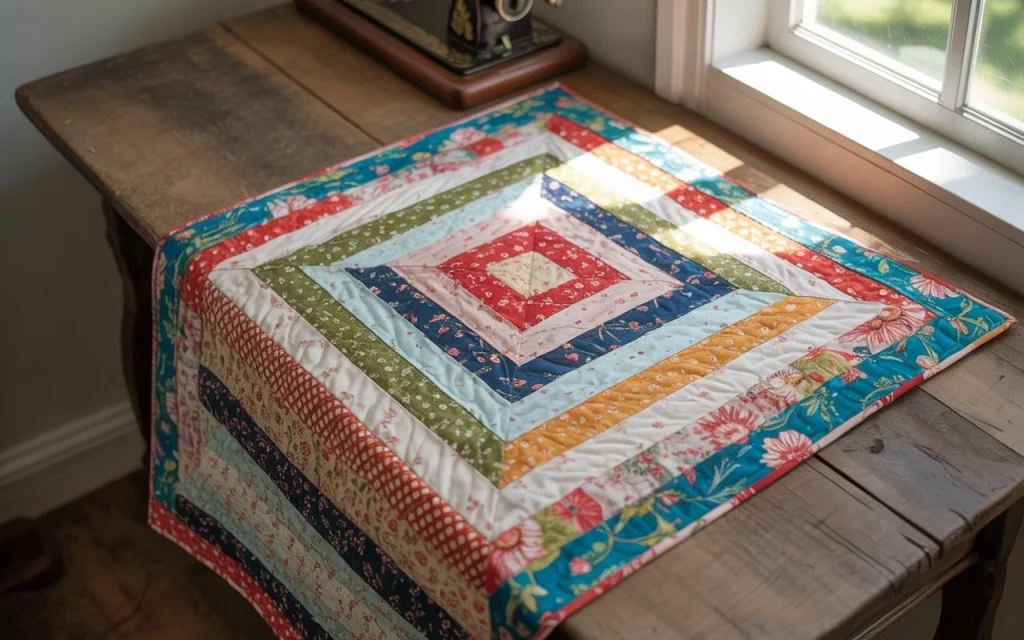
Step 1: Choose a Quilt Pattern
Layer cake quilts offer a variety of pattern options. For beginners, a simple patchwork square layout or disappearing nine-patch is ideal.
Choose a pattern that suits your skill level and fabric style. Many designers offer free layer cake quilt patterns online, or you can create your own layout.
Step 2: Plan the Quilt Layout
Lay out your layer cake squares on a flat surface or design wall. Arrange the squares in rows and columns, alternating colors and patterns for visual balance.
Take a photo of the final layout to reference later. This prevents confusion when sewing rows together.
Step 3: Trim Squares if Needed
Although pre-cuts are designed for accuracy, it’s a good idea to check if all your 10×10″ squares are consistent. If needed, use a rotary cutter and ruler to trim uneven edges.
This ensures that seams match up correctly during piecing.
Step 4: Start Sewing Rows
With a 1/4″ seam allowance:
- Take the first two squares from the top row.
- Place them right sides together and sew along one edge.
- Press the seam to one side (or open, depending on your preference).
- Continue adding squares until the entire row is complete.
Repeat this for each row of the quilt.
Step 5: Sew the Rows Together
Once all the rows are complete:
- Pin the first two rows together, matching seams as precisely as possible.
- Sew the rows with a 1/4″ seam.
- Press the seam to one side or open.
- Add remaining rows in the same manner.
Make sure to press each seam after sewing to keep the quilt top flat.
Step 6: Add Borders (Optional)
If you want to enlarge your quilt or frame the design, consider adding borders using fabric strips. Borders are not required but can enhance the finished look.
Measure the width and height of your quilt top and cut border strips accordingly. Sew them to the quilt edges and press the seams.
Step 7: Prepare the Quilt Sandwich
The quilt sandwich consists of three layers:
- Quilt top (your sewn layer cake squares)
- Batting
- Backing fabric
Lay the backing fabric right-side down on a large surface. Place the batting on top, then lay the quilt top right-side up. Smooth each layer to remove wrinkles.
Use quilting safety pins or basting spray to secure the layers.
Step 8: Quilt the Layers Together
You can quilt your layer cake quilt in several ways:
- Straight-line quilting: Easy and modern
- Stitch-in-the-ditch: Follows the seam lines for a clean look
- Free-motion quilting: Advanced and decorative
Use your sewing machine’s quilting foot and go slowly, making sure the layers stay aligned.
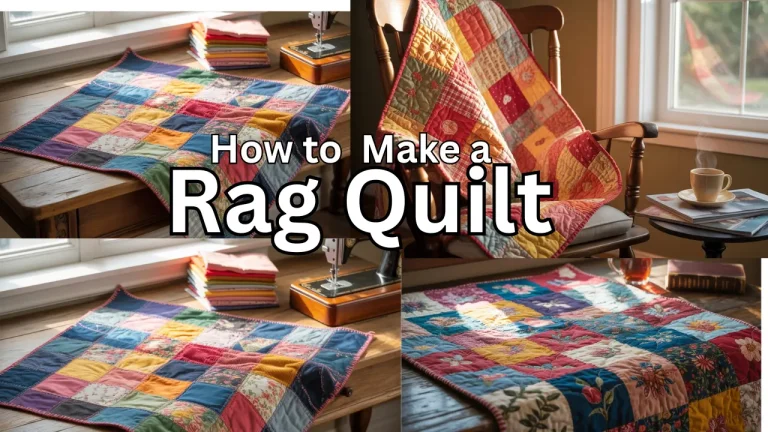
REalted :https://homecraftedlove.us/make-a-rag-quilt/
Step 9: Trim the Edges
After quilting, use a rotary cutter and ruler to trim the edges so they are even. This will make binding much easier.
Step 10: Bind the Quilt
Create or purchase binding strips (typically 2.5″ wide). Fold the strips in half lengthwise and press.
- Sew the binding to the front of the quilt, raw edges aligned.
- Fold it over to the back and stitch it down by hand or machine.
- Miter the corners for a clean finish.
Binding gives the quilt a professional edge and seals the raw seams.
Conclusion
Making a layer cake quilt is a rewarding project that combines ease and elegance. With pre-cut 10″ squares, you save time on cutting and can focus on design, layout, and sewing. Whether it’s your first quilt or your fiftieth, layer cakes offer convenience, consistency, and beautiful results.
Once you’ve finished your quilt, you’ll have a handmade treasure perfect for gifting, decorating, or cozying up at home.