How to Make a Rag Quilt A Complete method 2025
Are you looking for a cozy, handmade project that’s both beginner-friendly and stylish? Learning how to make a rag quilt might be the perfect choice. Rag quilts are soft, warm, and have a charming, rustic look that many people love. The best part? You don’t need expert sewing skills or complicated patterns to get started.
In this article, you’ll learn how to make a rag quilt step-by-step, what materials you need, and helpful tips to create a beautiful quilt that lasts.
What Is a Rag Quilt?
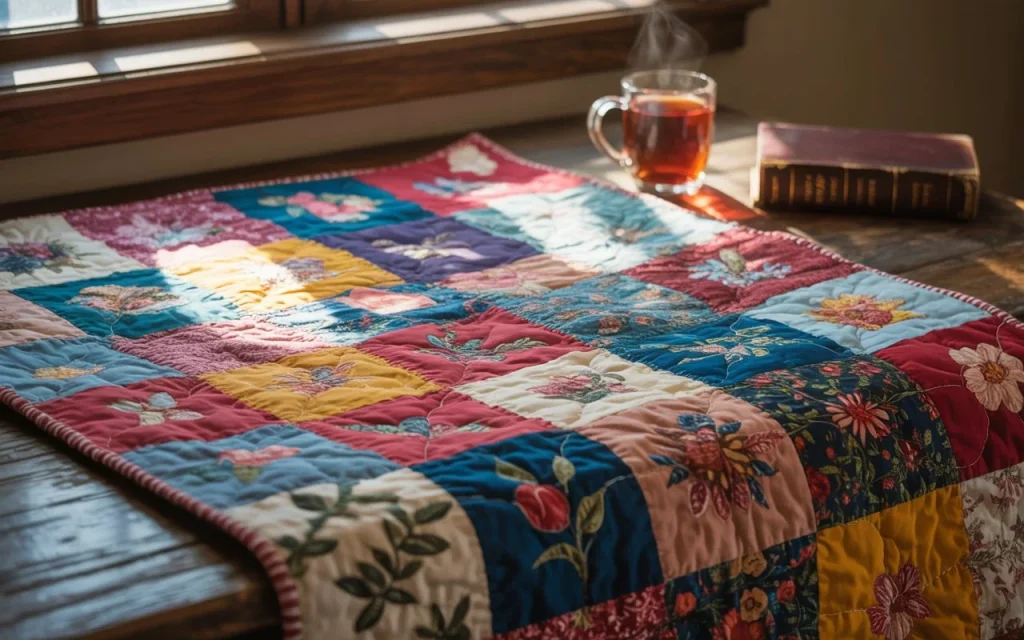
A rag quilt is a type of quilt made by sewing together fabric squares with exposed seams on the front. These seams are clipped and washed to create a frayed or “ragged” look, giving the quilt its name. Unlike traditional quilts, rag quilts don’t require intricate stitching or binding, making them ideal for beginners.
Why Make a Rag Quilt?
Here are a few reasons to choose a rag quilt for your next project:
- Beginner-friendly: Simple to sew with straight lines
- Quick to complete: No need for fancy quilting or binding
- Soft and comfortable: Perfect for gifting or personal use
- Creative design: Mix and match fabrics for a personalized look

Materials Needed to Make a Rag Quilt
Before you start, gather these basic supplies:
- Fabric (3 layers per square):
- Top: Cotton flannel or quilting cotton
- Middle: Lightweight batting or flannel
- Back: Matching or contrasting flannel
- Scissors or rotary cutter
- Cutting mat and ruler
- Pins or clips
- Sewing machine
- Thread
- Snipping scissors (for ragging seams)
- Washing machine and dryer
How Much Fabric Do You Need?
Fabric needs depend on your quilt’s size. Here’s a simple breakdown for a small lap-sized rag quilt (about 40″x50″):
- Square size: 8″x8″ (before sewing)
- Finished size: 6.5″x6.5″ (after seam allowance)
- Number of squares: Around 48 (6 squares across, 8 down)
- You’ll need 144 squares total (3 layers per square)
Always buy a little extra fabric in case of mistakes or shrinkage.

Step-by-Step Guide: How to Make a Rag Quilt
Step 1: Wash and Dry Your Fabric
Pre-wash all fabric to reduce shrinkage later. Dry and iron if needed.
Step 2: Cut the Squares
Cut your top, middle, and backing layers into equal-sized squares (e.g., 8″x8″). Use a rotary cutter and ruler for clean edges.
Tip: Stack and cut multiple layers at once to save time.
Step 3: Layer the Squares
Make a fabric sandwich:
- Top layer (right side up)
- Middle layer (batting or flannel)
- Back layer (wrong side up)
Align the edges and pin or clip them together.
Step 4: Sew an “X” on Each Square
To hold the layers together, sew a diagonal line from corner to corner, forming an “X” on each square. This step prevents shifting during washing.
Step 5: Arrange Your Quilt Layout
Lay out all squares on a table or the floor. Arrange the pattern or colors to your liking. You can alternate fabrics or create rows by color.
Step 6: Sew Squares into Rows
Place two squares together with back sides touching (the exposed seams go on the front). Sew a ½” seam along the edge. Continue adding squares to complete each row.
Step 7: Join Rows Together
Once all rows are done, sew them together in the same way, keeping seams facing outward. Use pins or clips to align seams between rows for a neat finish.
Step 8: Sew Around the Outer Edge
After joining all rows, sew a ½” seam around the outside of the quilt to reinforce the edge.
Step 9: Clip the Seams
Using snipping scissors, clip all exposed seam allowances every ½” to ¾”, being careful not to cut the stitching. This creates the “rag” effect when washed.
Tip: This step takes time—go slowly and take breaks if needed.
Step 10: Wash and Dry the Quilt
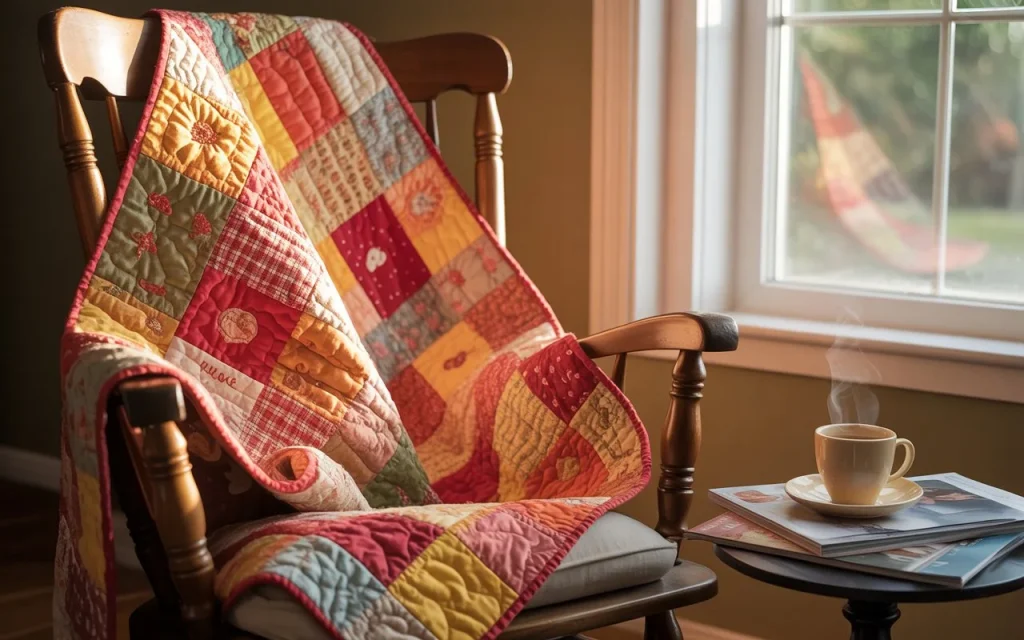
Wash your quilt in cold water and dry it on high heat. The clipped seams will fray and puff up, giving the rag quilt its signature look.
You may want to clean the lint filter a few times during drying, as rag quilts can shed a lot on the first wash.
Common Mistakes to Avoid
- Skipping pre-washing: Causes shrinkage and uneven seams later
- Cutting inaccurate squares: Leads to misaligned edges
- Using stretchy fabric: Makes sewing and fraying harder
- Clipping too close to seams: Risk of cutting your stitches
Final Thoughts
Learning how to make a rag quilt is a fun, simple, and rewarding sewing project. Whether you’re making it for a baby gift, a cozy throw, or a personal keepsake, rag quilts bring warmth and charm with minimal effort. Just follow the steps, enjoy the creative process, and don’t worry about perfection—rag quilts are meant to be rustic and handmade.