Easy Snowflake Day Quilt A Cozy Winter Tradition Worth Stitching
Introduction
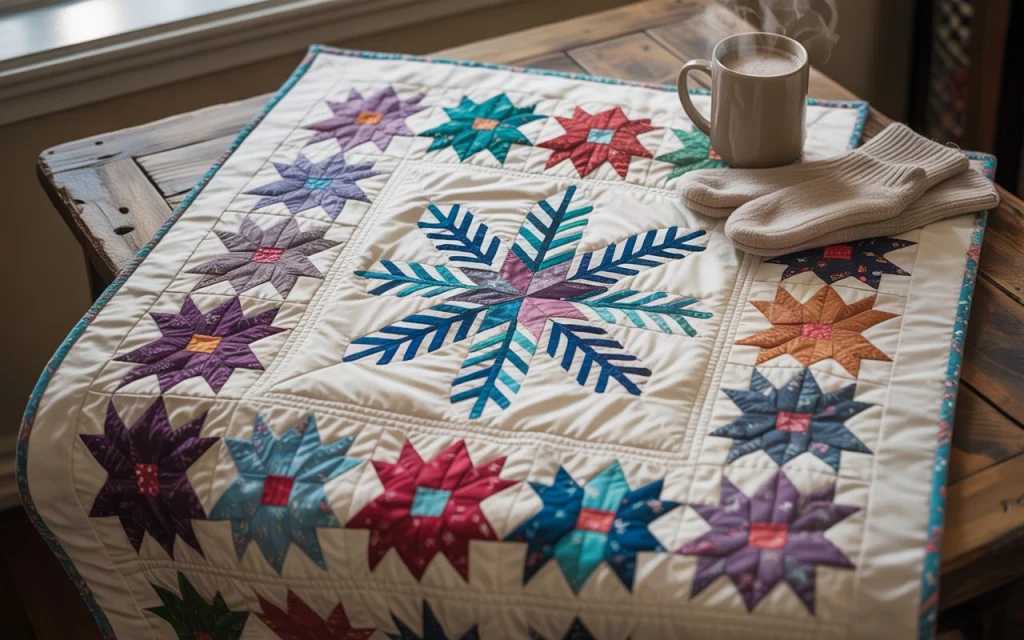
The Snowflake Day Quilt isn’t just a cozy winter blanket, it’s a seasonal celebration of craftsmanship, comfort, and creativity. Inspired by the gentle beauty of falling snow, these quilts are often stitched during chilly snow days when staying indoors becomes the perfect excuse to start (or finish) a heartfelt sewing project.
Whether you’re a seasoned quilter or just picking up your first needle, this guide will help you understand what makes a Snowflake Day Quilt special and how you can make one that brings warmth to your home for years to come.
Why Are Snowflake Day Quilts So Popular?
There’s something magical about combining soft fabrics, icy color tones, and intricate snowflake patterns. But beyond aesthetics, here’s why Snowflake Day Quilts have become a winter essential:
- Seasonal Sentiment: The quilt captures the essence of winter, making it a beautiful holiday or seasonal décor item.
- Therapeutic Crafting: Working on a detailed quilting project can reduce stress and improve focus, especially during cold, quiet months.
- Gifting Value: A hand-sewn Snowflake Day Quilt makes a thoughtful and cherished gift.
Related: How to Make a Rag Quilt
Design Elements of a Snowflake Day Quilt
When designing your quilt, consider these signature elements that define the Snowflake Day Quilt aesthetic:
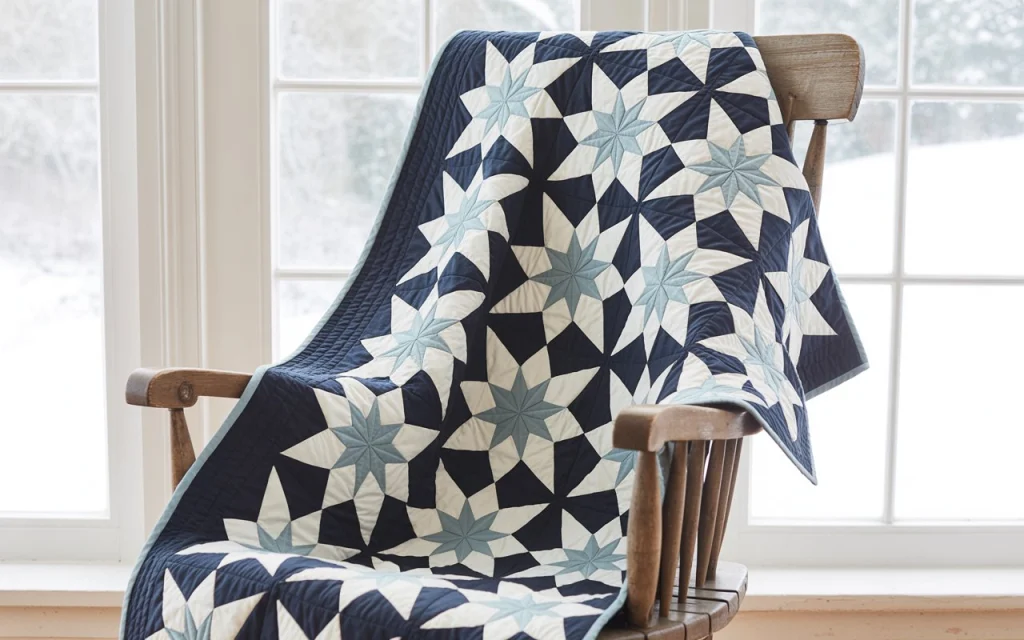
1. Color Palette
- Ice blue, soft white, silver, and navy blue dominate the color scheme.
- Pastels or frosted greys also work beautifully.
2. Fabric Choices
- Soft cotton, flannel, or brushed twill for warmth.
- Metallic thread or shimmer fabrics can add a festive sparkle.
3. Snowflake Patterns
- Appliqué snowflakes
- Embroidered or printed snowflake motifs
- Symmetrical piecing in snowflake shapes
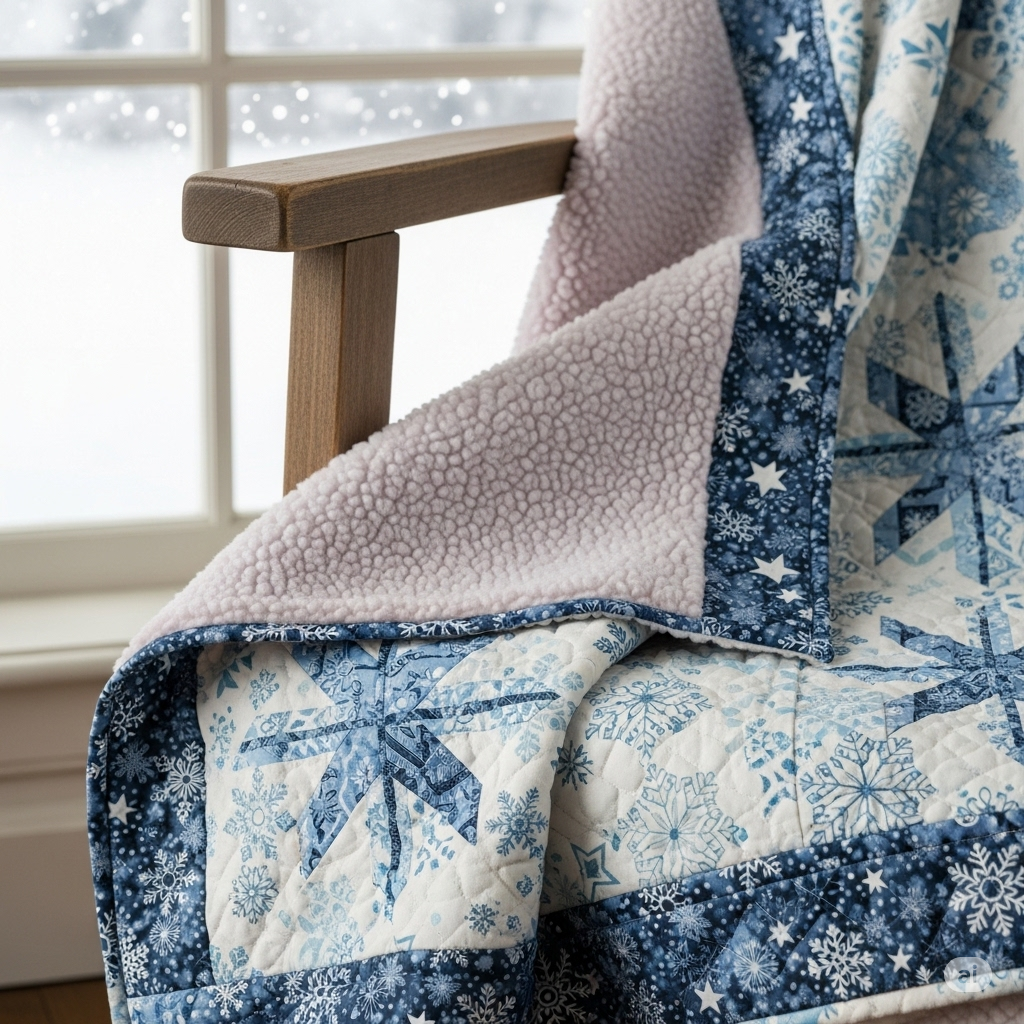
4. Border & Backing
- Use winter-themed borders (e.g., snowflakes, stars, or reindeer prints)
- Cozy fleece backing adds extra comfort
How to Make Your Own Snowflake Day Quilt
Creating your own quilt is simpler than you think—here’s a basic guide to get you started:
Step 1: Gather Materials
- 100% cotton quilting fabric (various winter tones)
- Snowflake templates or stencils
- Sewing machine and thread (white or silver)
- Batting and backing fabric
- Pins, ruler, scissors or rotary cutter
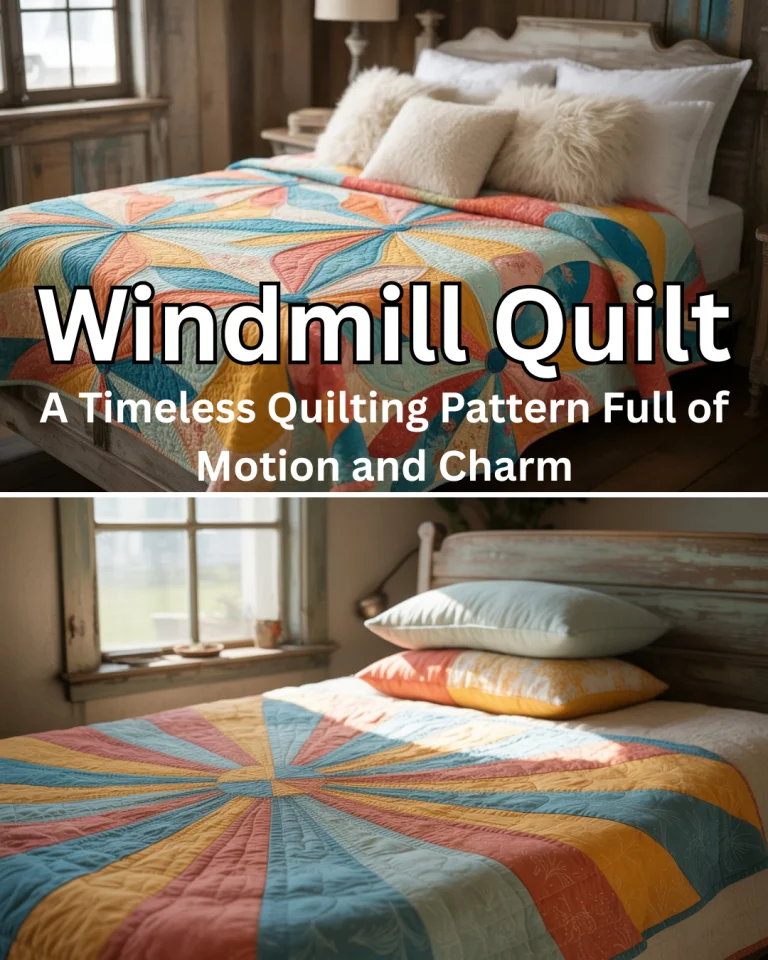
Related: Windmill Quilt:
Step 2: Cut and Piece the Quilt Top
- Follow a block pattern layout (e.g., 12×12″ blocks)
- Incorporate snowflake designs using appliqué or embroidery
- Arrange blocks in a balanced, symmetrical style
Step 3: Assemble the Layers
- Layer the quilt top, batting, and backing
- Pin securely using safety pins or basting spray
Step 4: Quilt and Bind
- Quilt by stitching around your snowflake patterns or in swirling “snowdrift” motions
- Add a matching border or contrasting edge
- Finish with hand or machine binding
Snowflake Day Quilt Ideas and Variations
- Mini Snowflake Quilt: Perfect for wall hangings or table runners.
- Snowflake Baby Quilt: A soft pastel version for winter newborns.
- Holiday-Themed Quilt: Add red and green elements to make it festive.
FAQs
Final Thoughts
A Snowflake Day Quilt is more than a cozy covering—it’s a seasonal memory stitched into fabric. Whether you gift it, display it, or snuggle under it during snowfall, this quilt brings winter magic indoors.